
Image-Based Backup (Legacy)
Image-based backup is the approach which implies the backing up an entire storage media by creating an image file with storage contents. This backup type involves creating the whole storage media counterparts or selected operating system partitions instead of backing up media on a file basis.
This wizard enables you to save and edit backup plans configurations in the future.
Start Backup Wizard
Run TrueSecure Backup for Windows.
Click the Image Based icon on the toolbar.

Wizard Steps
The Backup Wizard is a sequence of the following steps:
Back Up BitLocker-Encrypted Volumes
In case you need to back up a BitLocker-encrypted disk volume, unlock a BitLocker-encrypted drive to enable to back it up.
On image-based backup plan , the Backup Wizard provides the "Keep BitLocker" option:
When this option is enabled, the drive is backed up as is, with BitLocker encryption preserved. As a result, you will not be able to restore individual files from an encrypted volume afterwards. BitLocker encryption will be preserved for a disk image restored from such a backup.
When this option is disabled, the backup service will decrypt the volume contents during the backup processing. A disk volume copy restored from this backup will not be encrypted as a result. This enables you to restore individual files from an unencrypted image-based backup.
BitLocker encryption is not preserved when backing up individual files and folders
TrueSecure Backup does not currently support restoring data from encrypted Azure disks
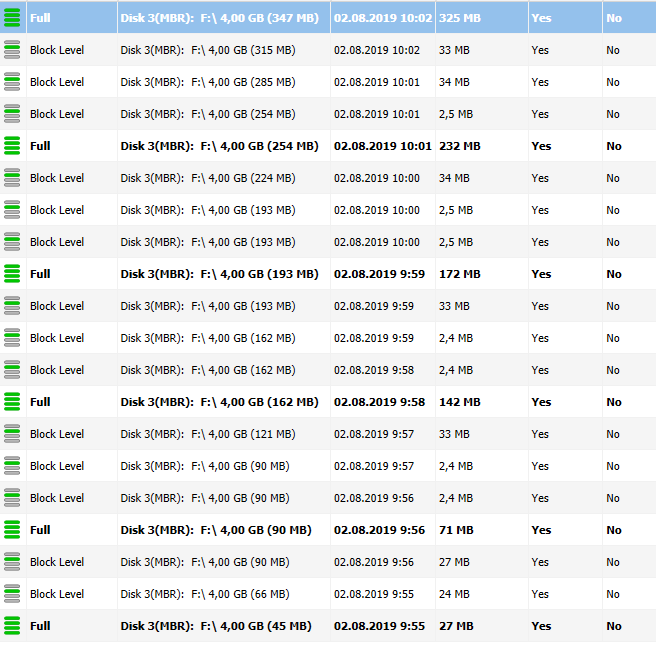
Delete Images
To delete old or unnecessary images from backup storage (for example, for storage size optimizing), proceed as follows:
Run TrueSecure Backup.
Open Home tab.
Switch to the Backup Storage tab.
Navigate to a backup storage you want to optimize, then select images you want to be deleted.
Right-click on image list, then select Delete.
Last updated